From recording to report.
Six steps, one app.
-
01
Set up the project.
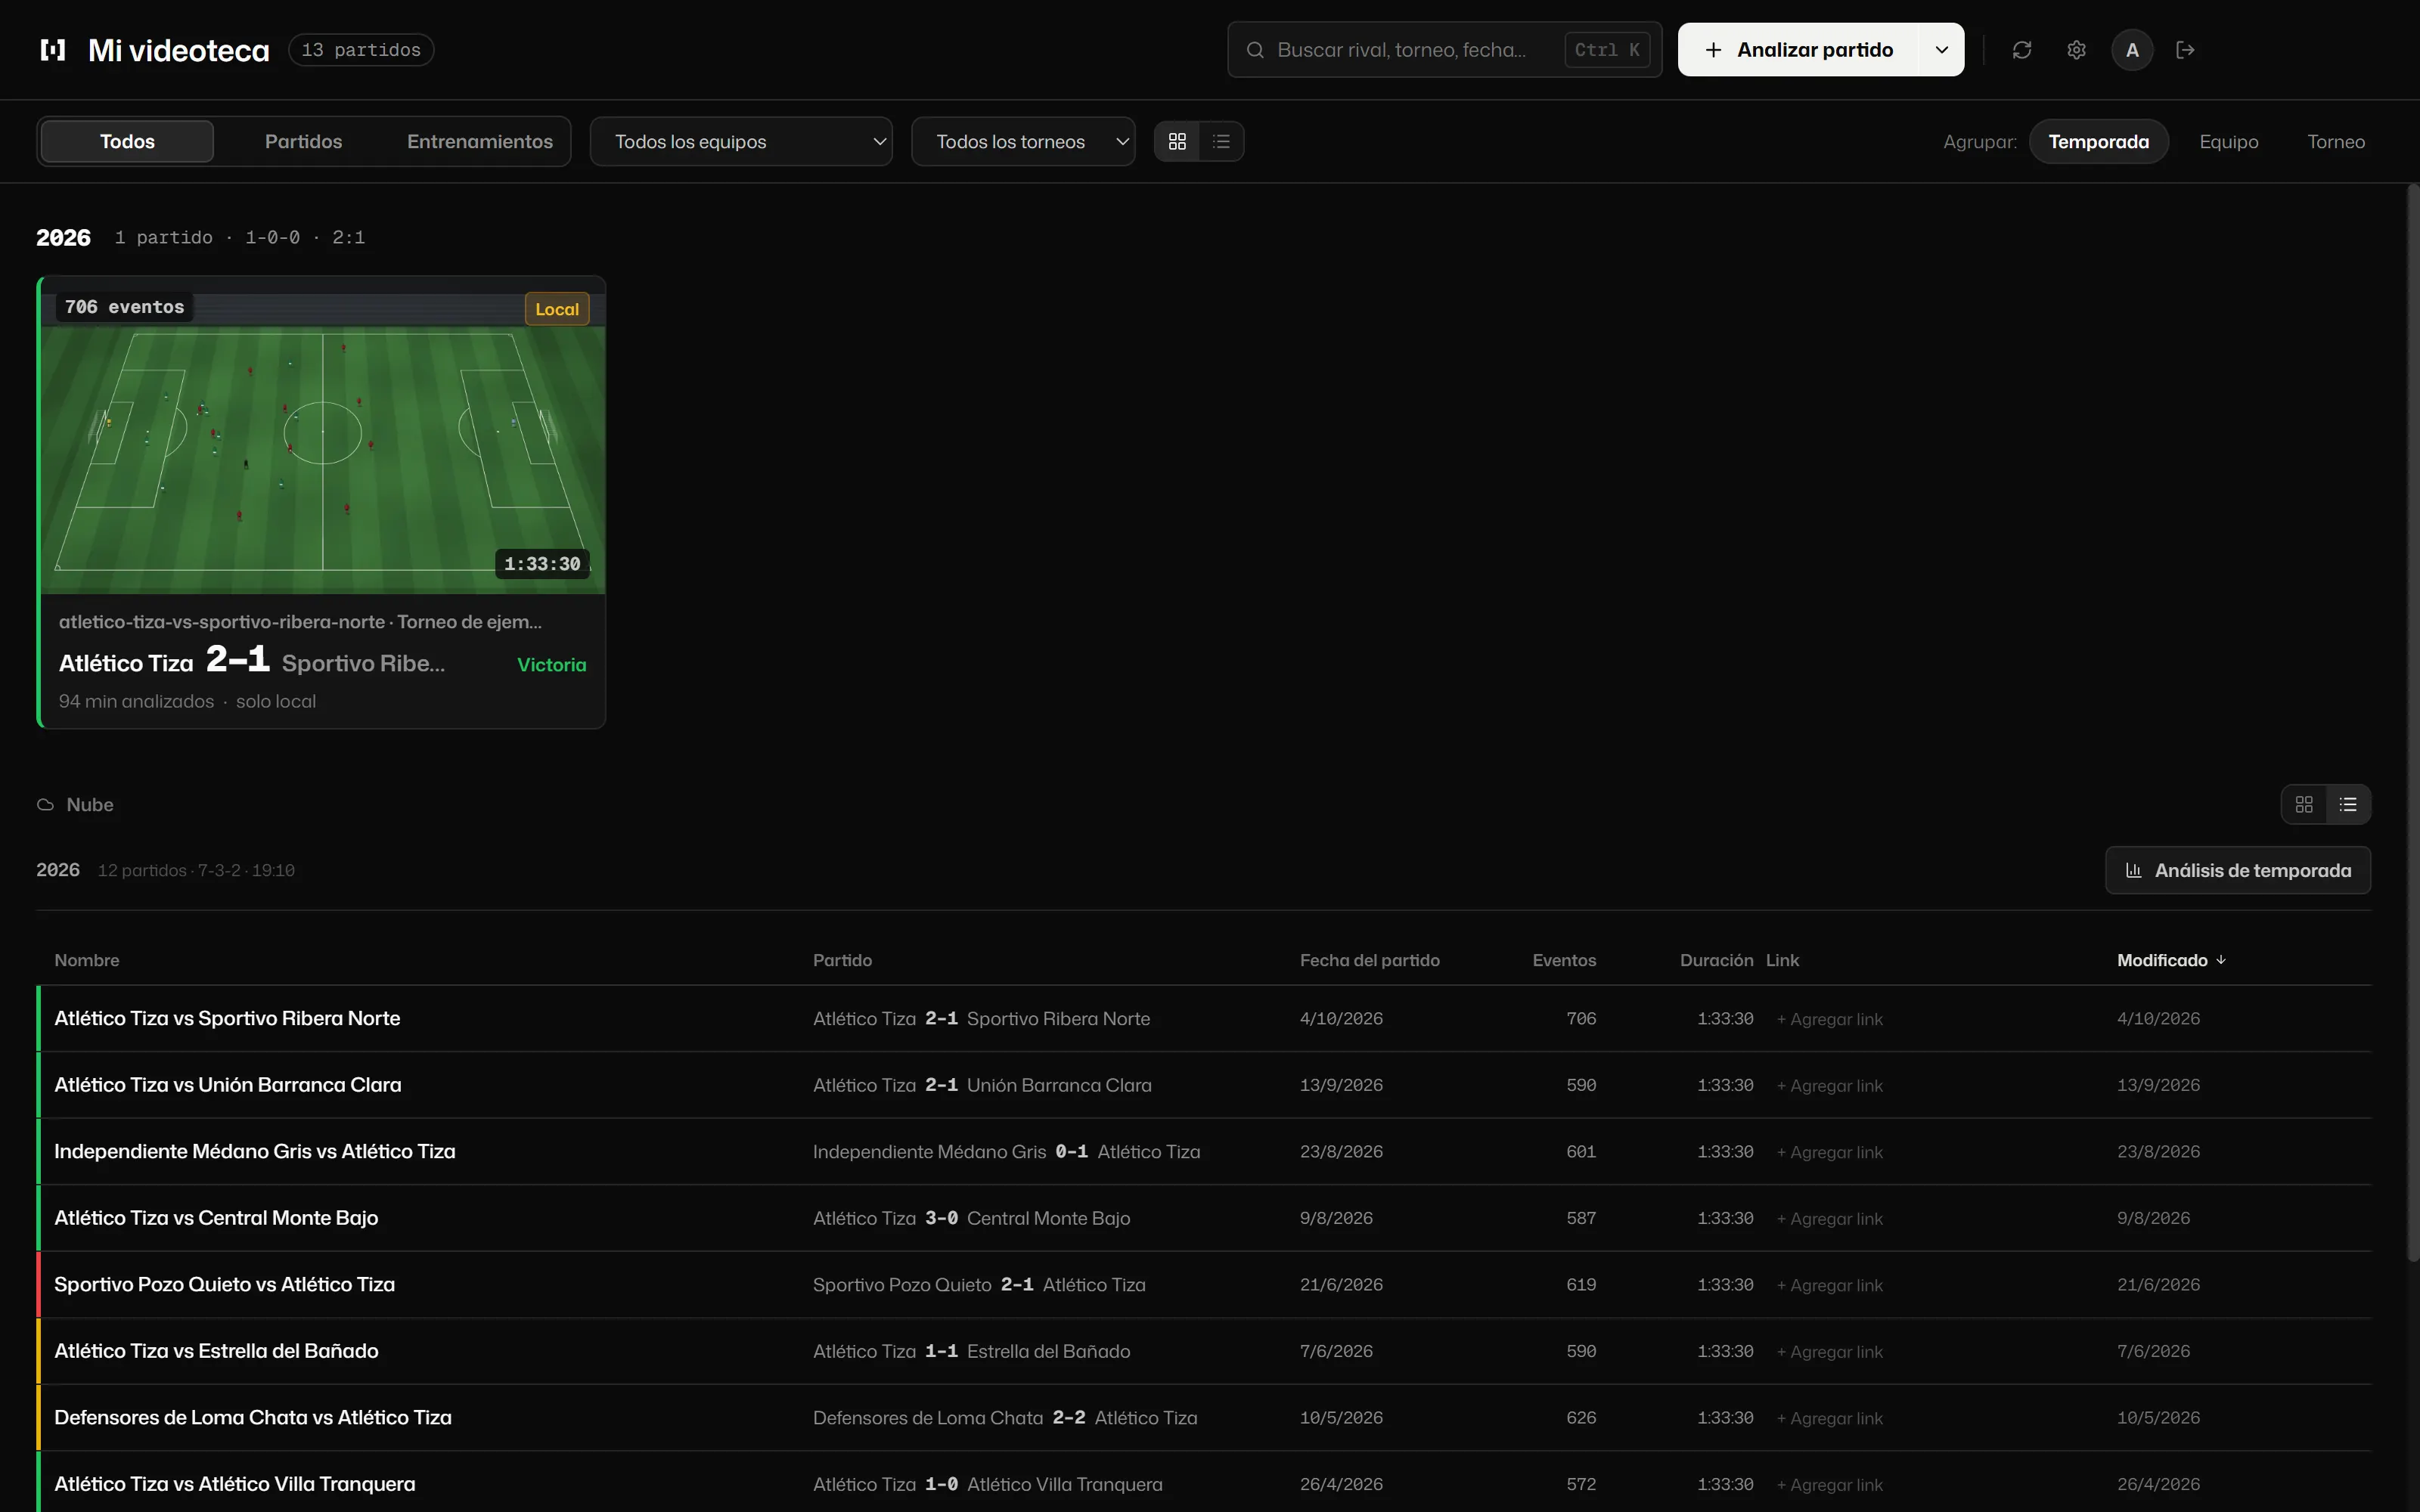
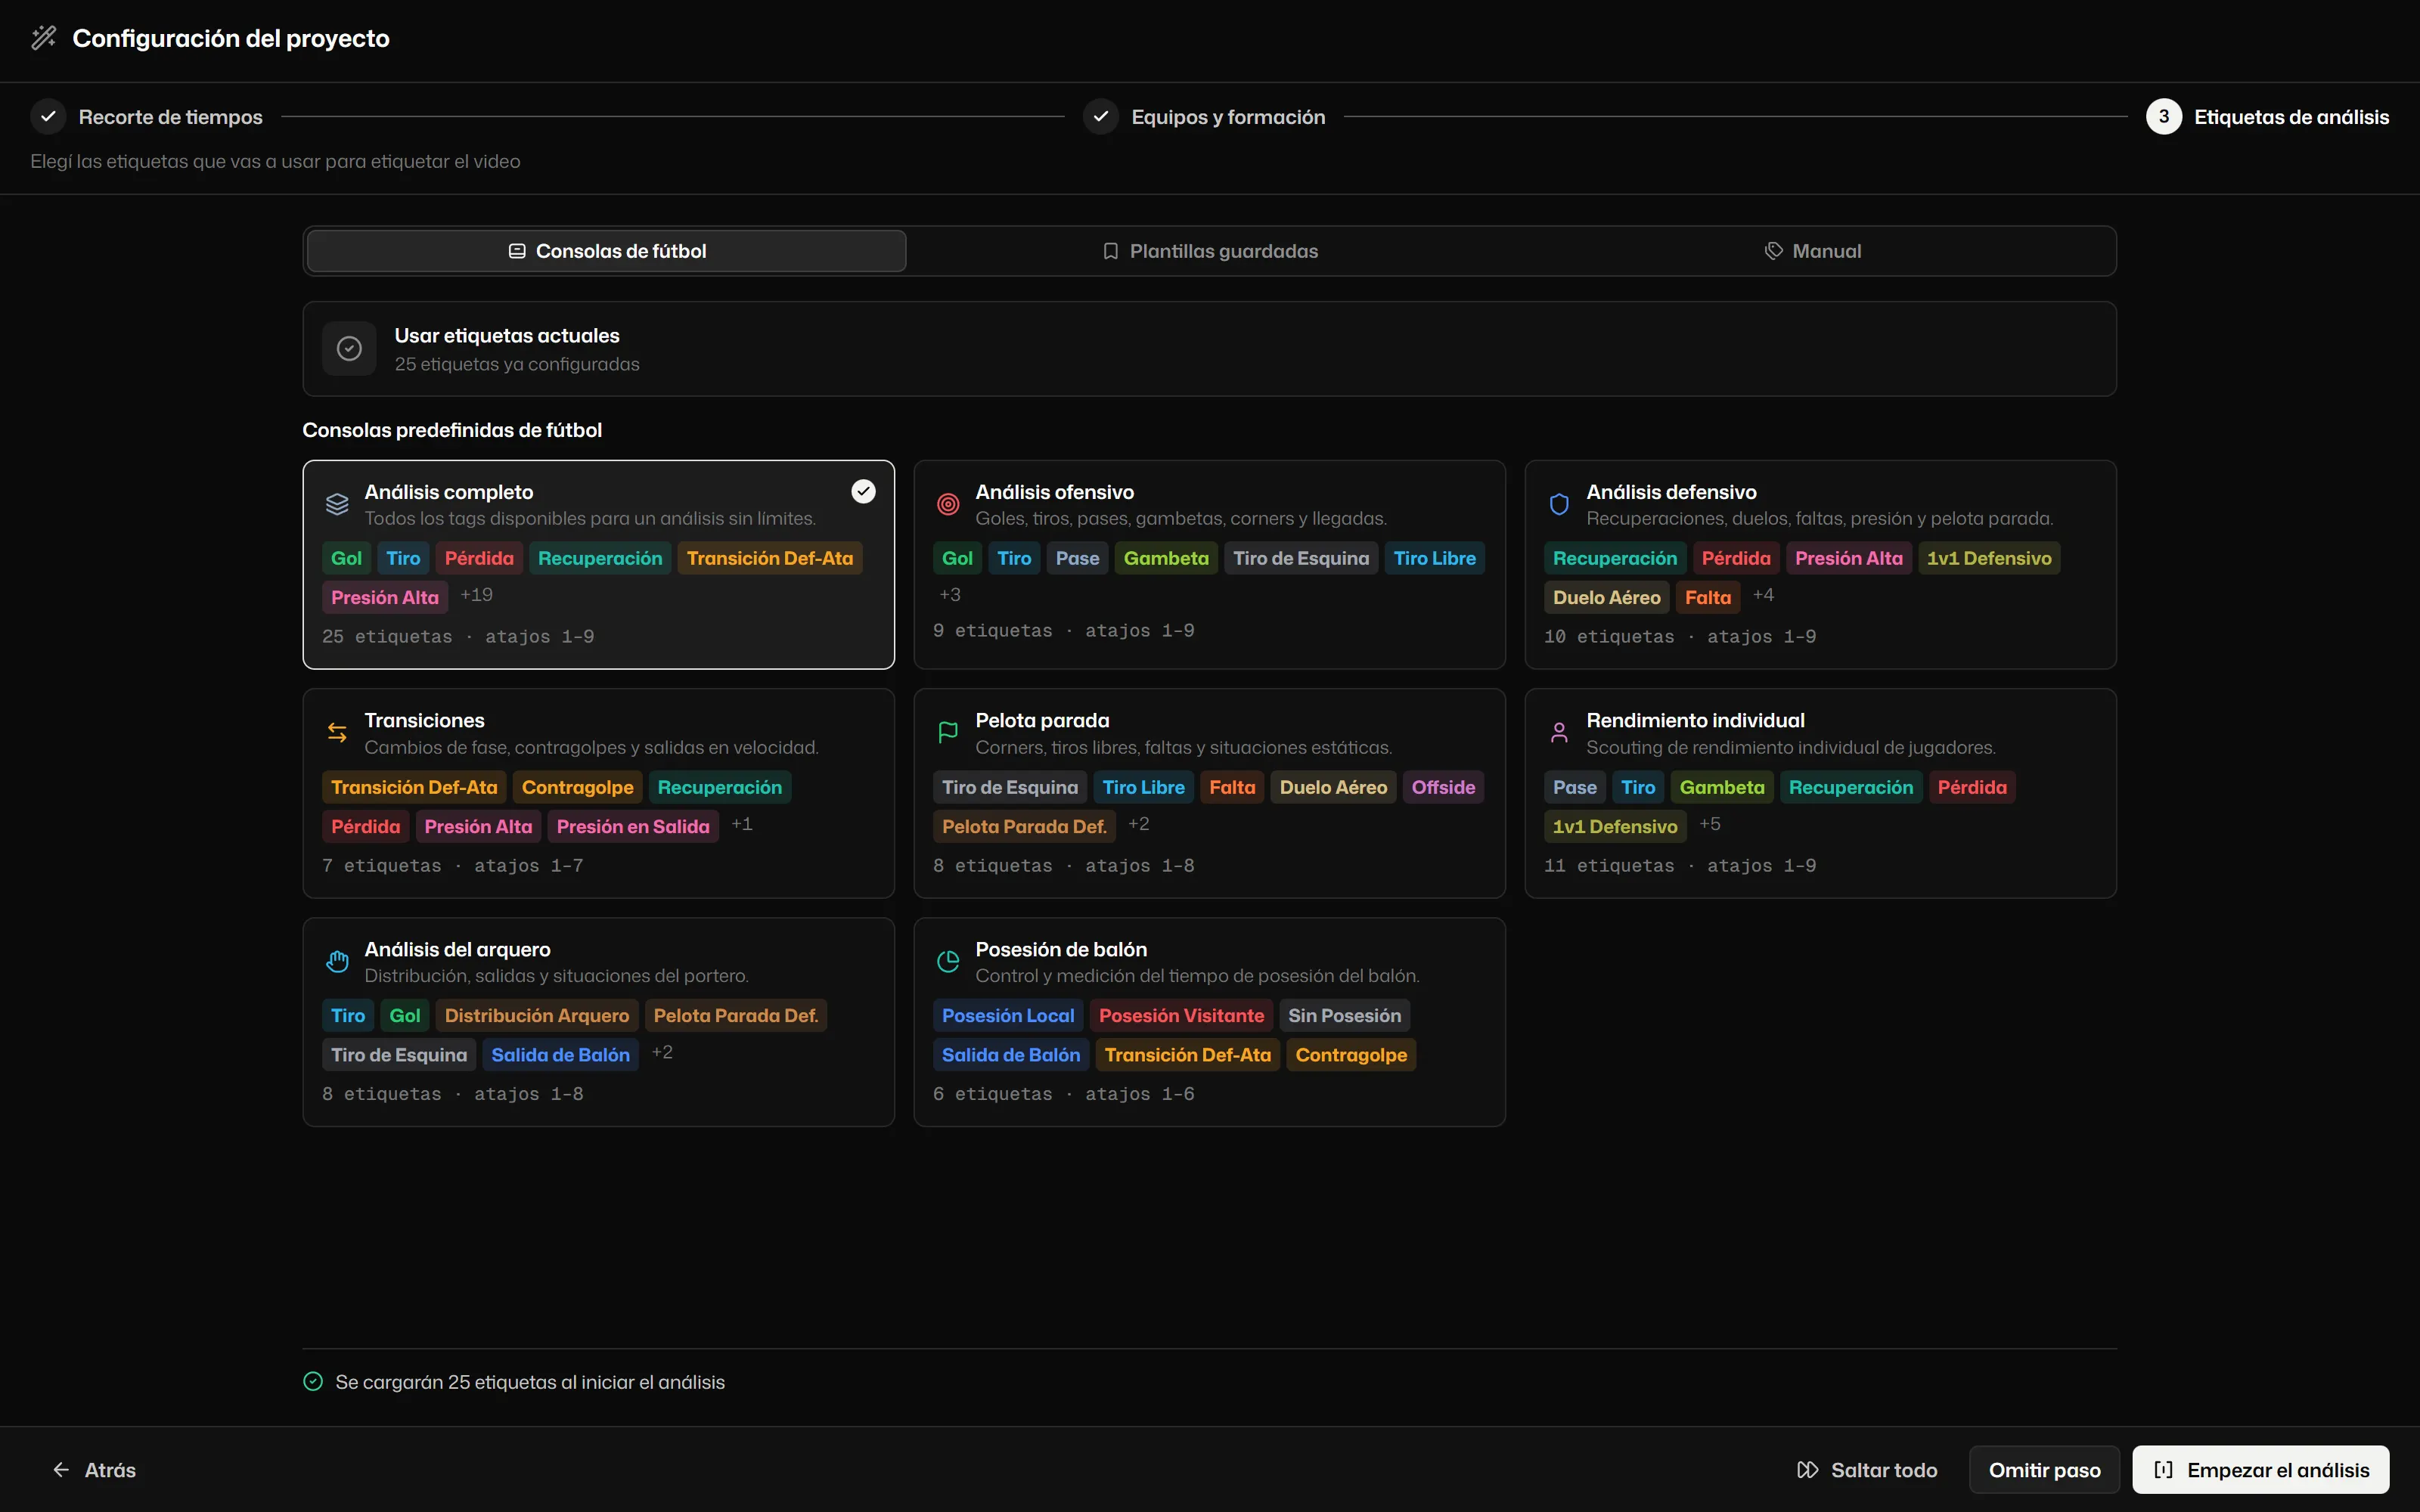
Choose whether it is a match or a training session, load the squad from the club catalogue or a saved one, and pick the console. If you do not have the video yet, leave it ready.
-
02
Load the video or record it live.
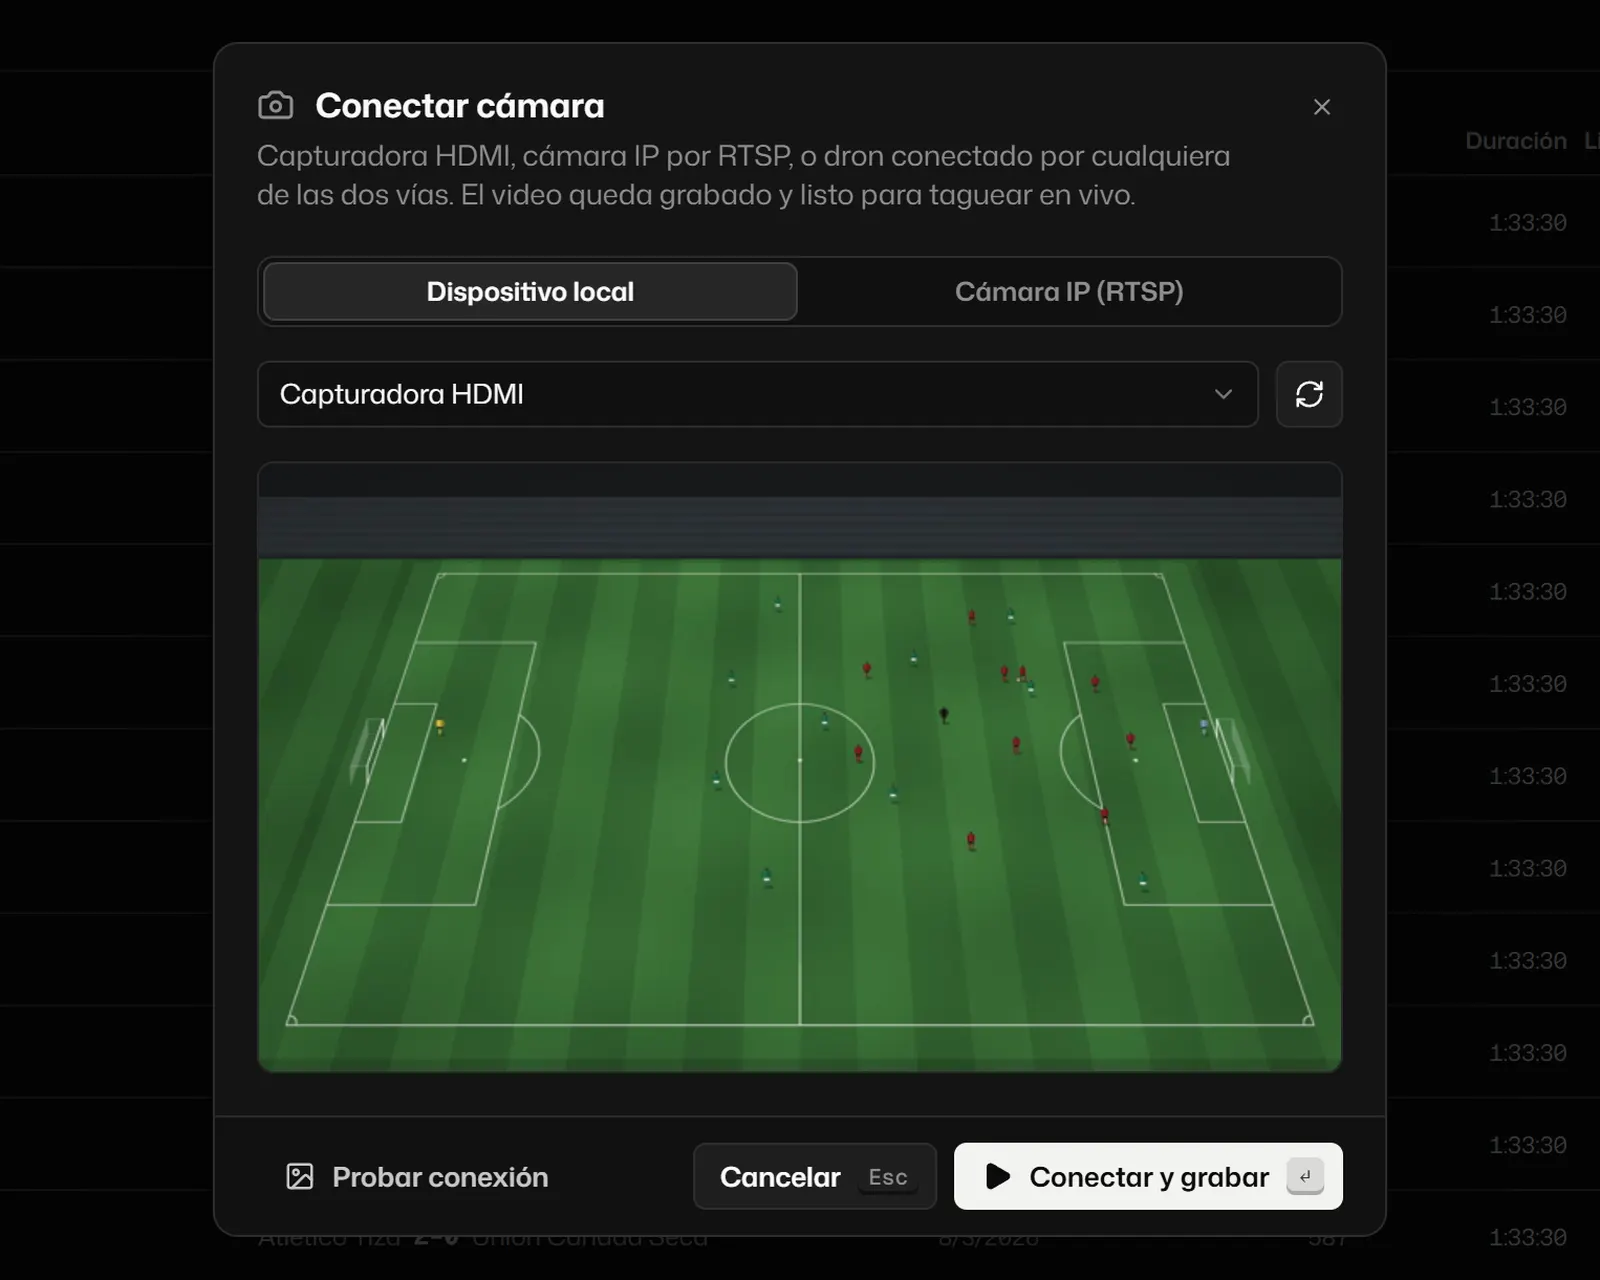
One file, several parts or the camera. Mark where each half starts and ends so the minutes in the report are the match minutes.
-
03
Tag from the keyboard.
One key per action. If needed, the player, the spot and the descriptors, on the logging desk or with two keystrokes.
-
04
Draw and measure.
Arrows, zones and freeze frames on the play; offside with perspective; the calibrated pitch to place every action.
-
05
Check the numbers.
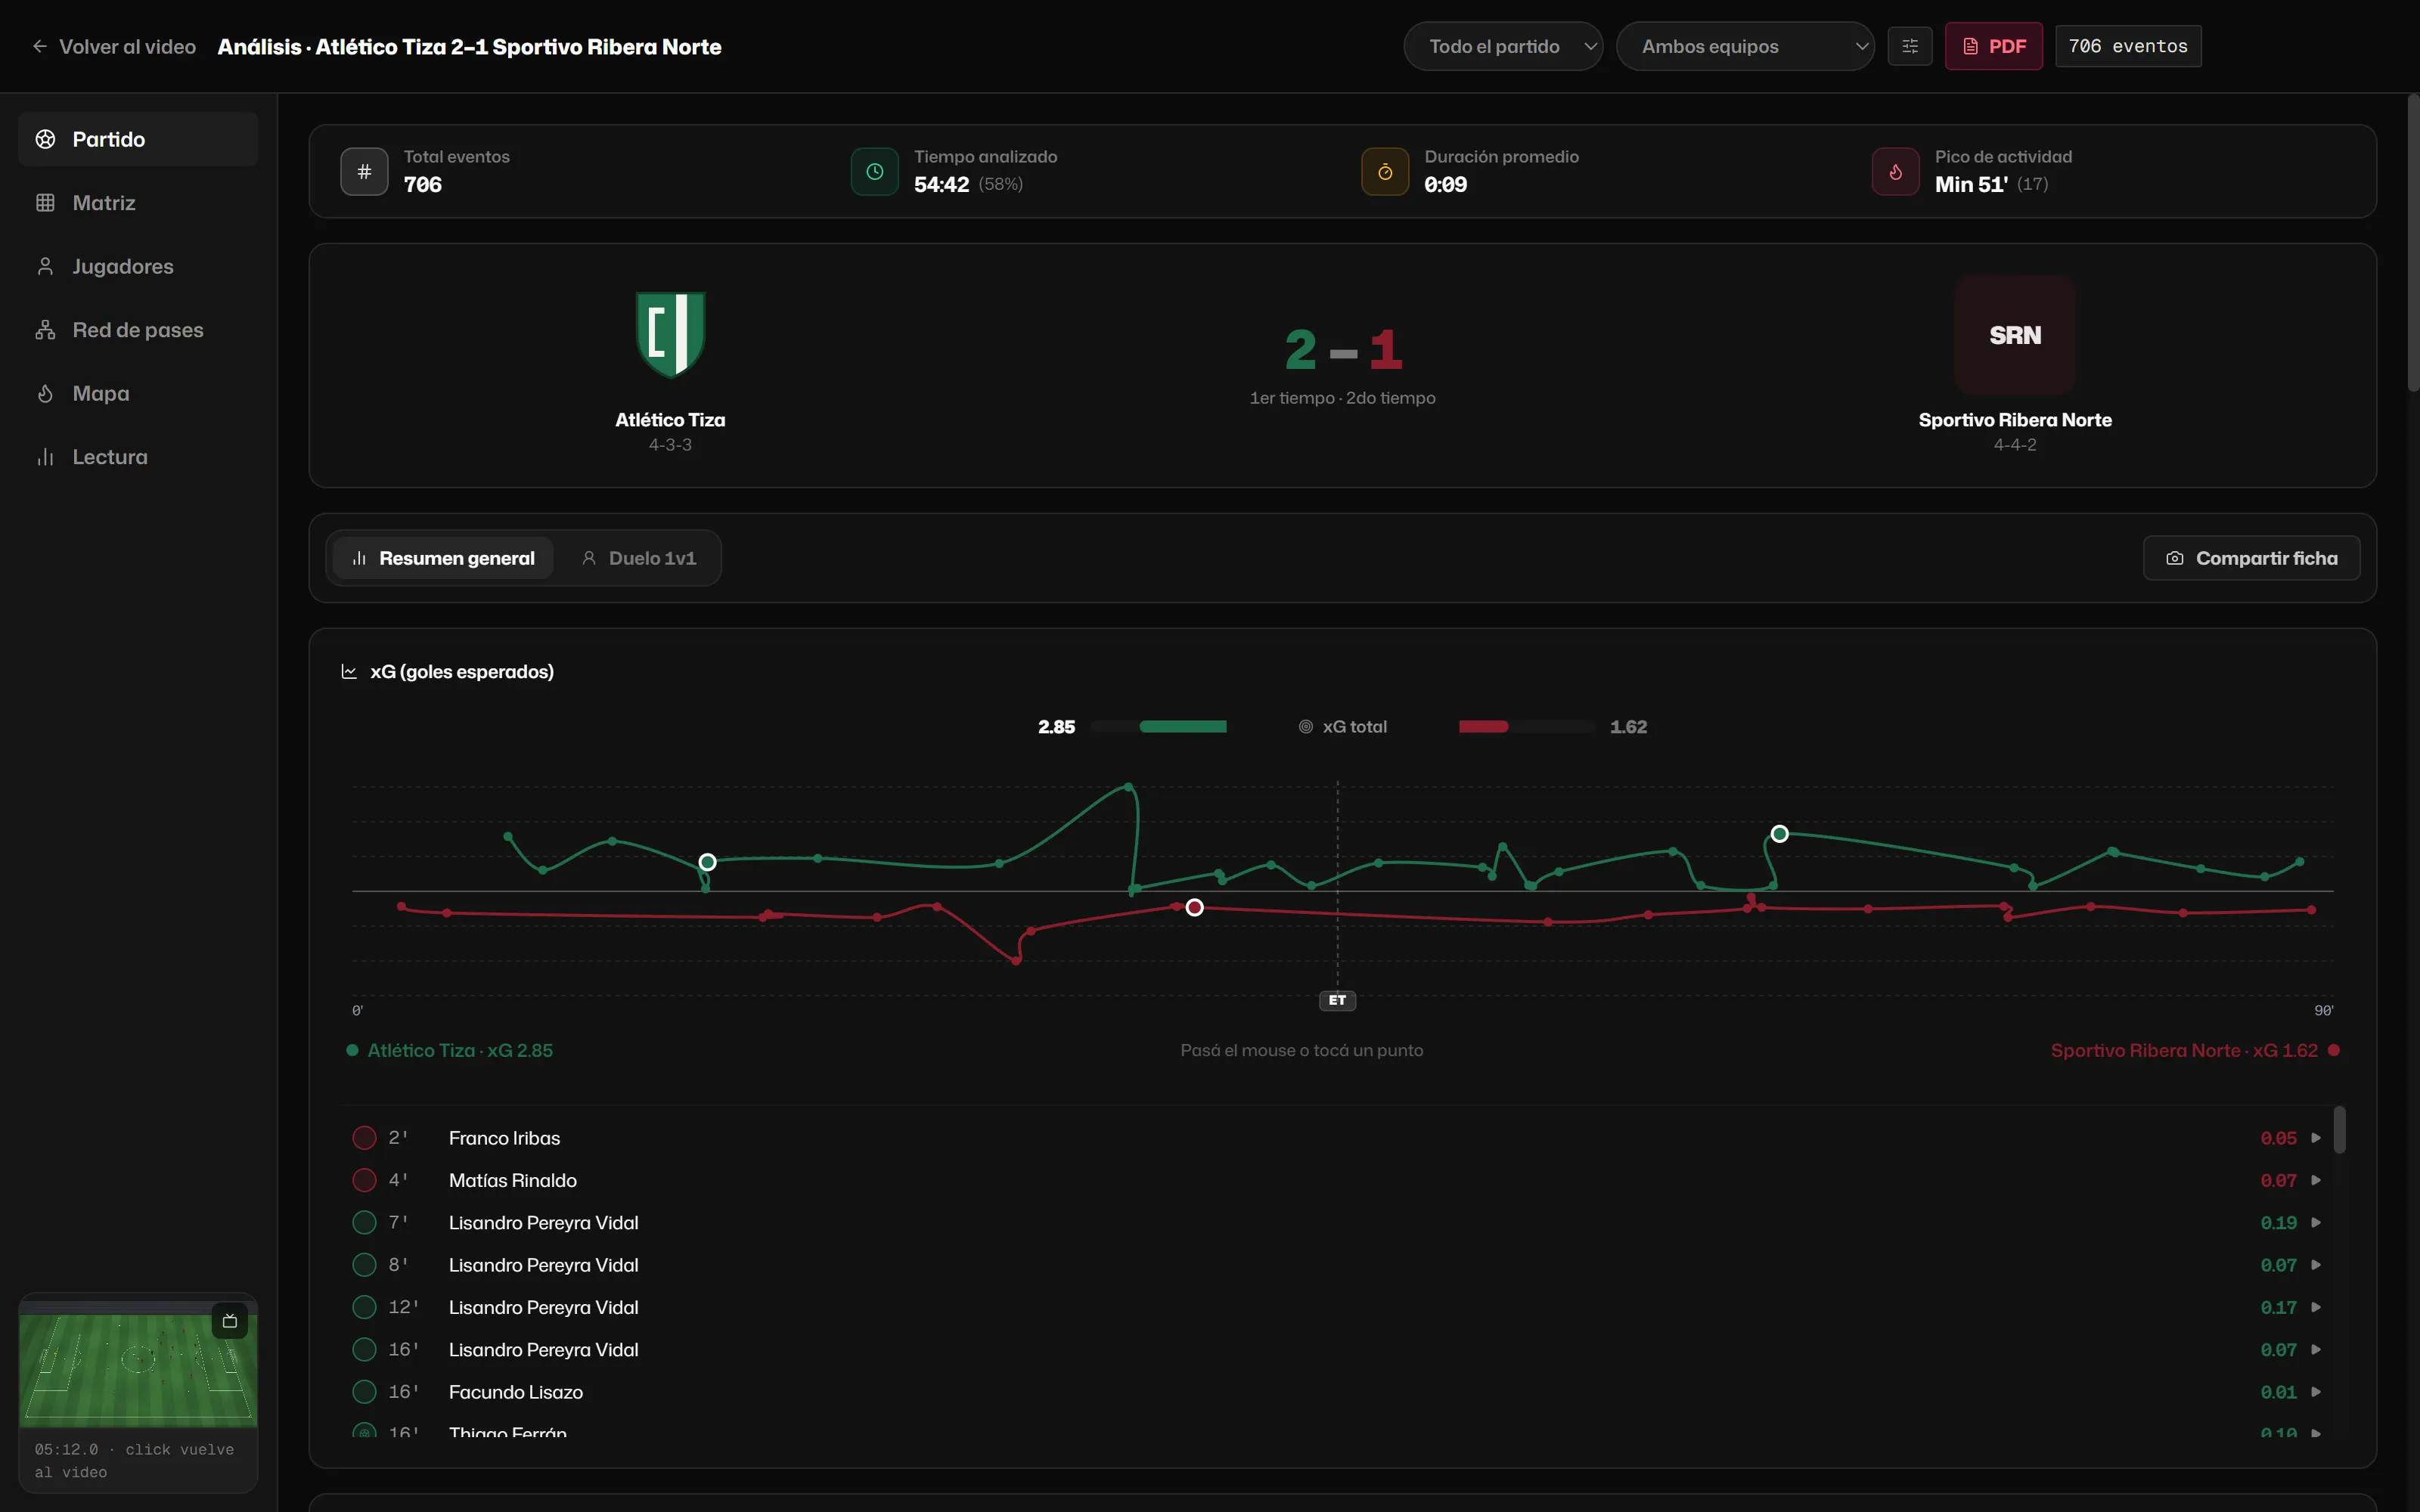
Match stats are calculated from what you tagged, and every match adds to the season.
-
06
Share.
Clips, reels, PDF or HTML reports, XML for your editor and data. The project stays on your computer or in the cloud.
What stays where
- On your computer: the video and the project’s
.goalfile. - In the cloud, if you use the Library: the project (events, drawings, squad). Not the video.
- On the GPS platform, with the Club plan: only the clips you send.